Home /A Quick Guide for Property Photographers: Mastering the Art of Capturing Homes
October 26, 2022
Alicia Grymel
A Quick Guide for Property Photographers: Mastering the Art of Capturing Homes
Being a property photographer requires a blend of technical skills, preparation, and an eye for detail. Your role is crucial in showcasing properties in the best light, attracting potential buyers, and making a lasting impression. Here’s a comprehensive guide to ensure your property photography sessions go smoothly, from preparation to equipment and the editing process.
“ Light makes photography. Embrace light. Admire it. Love it. But above all, know light. Know it for all you are worth, and you will know the key to photography. ”
— George Eastman
Before the Appointment: Be Punctual and Prepared
Time Management: Punctuality is essential. Inform clients about the expected duration of the appointment and plan your travel routes in advance, considering potential traffic or delays.
Appearance: First impressions matter. Dress smartly and professionally, reflecting your commitment to the job.
Equipment: Ensure your camera gear is ready. Charge batteries, bring spare SD cards, carry at least two lenses (wide-angle and prime), a flashgun, tripod, and any additional equipment required for specific requests (e.g., video, 360 shots, aerial photos).
Communication: Prior to the appointment, inform clients of any preparations they need to make to ensure the property is photo-ready
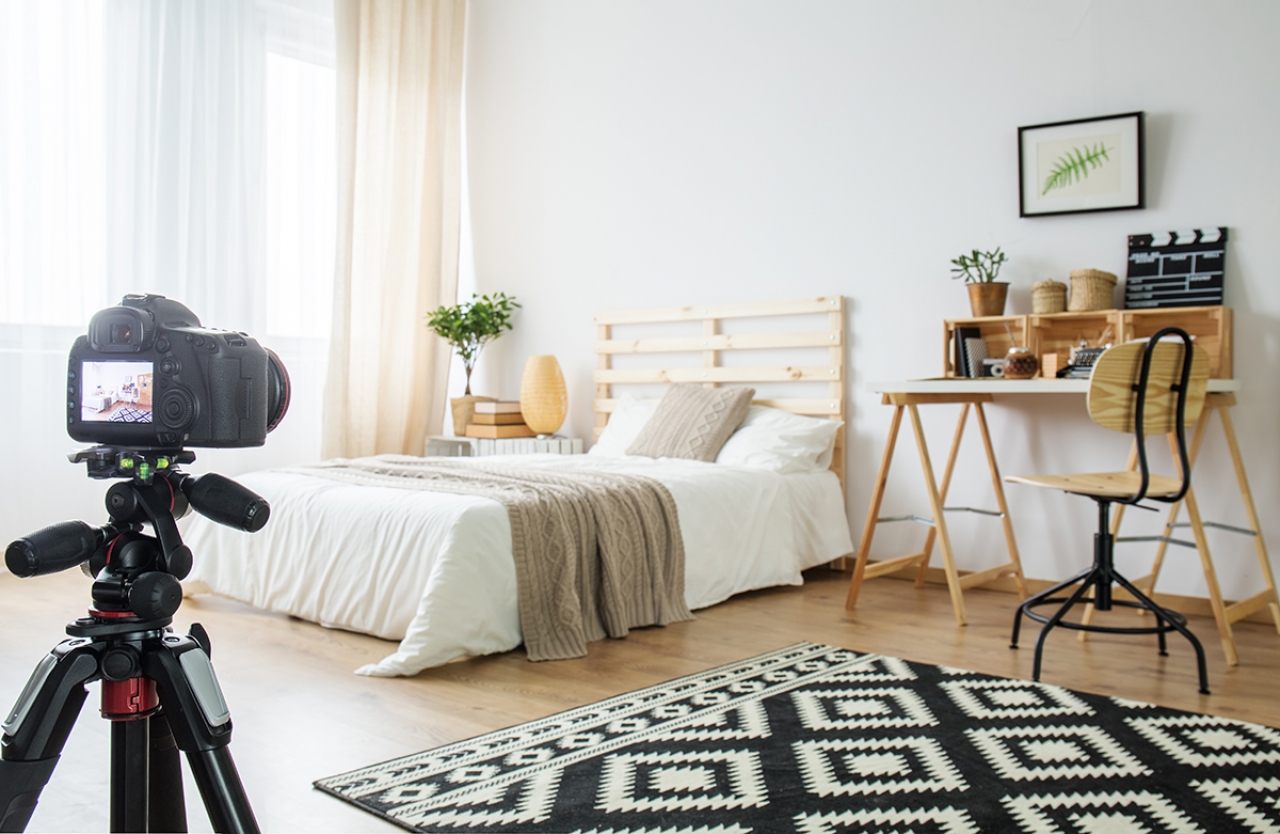
At the Property: Mastering the Art of Composition
Room Exploration: Visit every room to plan your shots. Determine the angles that best showcase each space and capture its essence.
Get Close: Don’t just focus on wide shots. Capture close-ups of key features and details that highlight the property’s uniqueness.
Space Perception: Position yourself in corners to make rooms appear more spacious. Use a tripod to ensure steady shots.
Door Dilemma: Decide whether doors should be open or closed. Open doors can create a more inviting atmosphere, but consider hiding anything that might be best kept private.
Lighting: Always remember to turn on the lights before shooting. Well-lit rooms look more appealing and inviting.
Attention to Detail: Remove any distracting items like towels, shoes, personal items, and declutter the space. A clean and tidy presentation makes for more attractive photos.
What’s in Your Bag: Essential Equipment
•Reliable camera bag or case that can accommodate all your gear. Consider a lightweight and versatile option for ease of use.
•Quality DSLR or mirrorless camera. Brands like Canon and Sony offer excellent options.
•Wide-angle lens (e.g., 12-24mm f/4) for capturing the full beauty of a room.
•Prime lens (e.g., 50mm f/1.2-1.8) for capturing sharp, detailed shots.
•Good tripod, such as the Manfrotto X PRO 3-Way Geared Head with MK 055 Tripod, or a lighter option like the Velbon 530 aluminum tripod.
•Reliable speedlight like the Godox V1s with accessories for creative lighting.
• Drone (e.g., DJI Mavic 2 Pro) for breathtaking aerial shots if required.
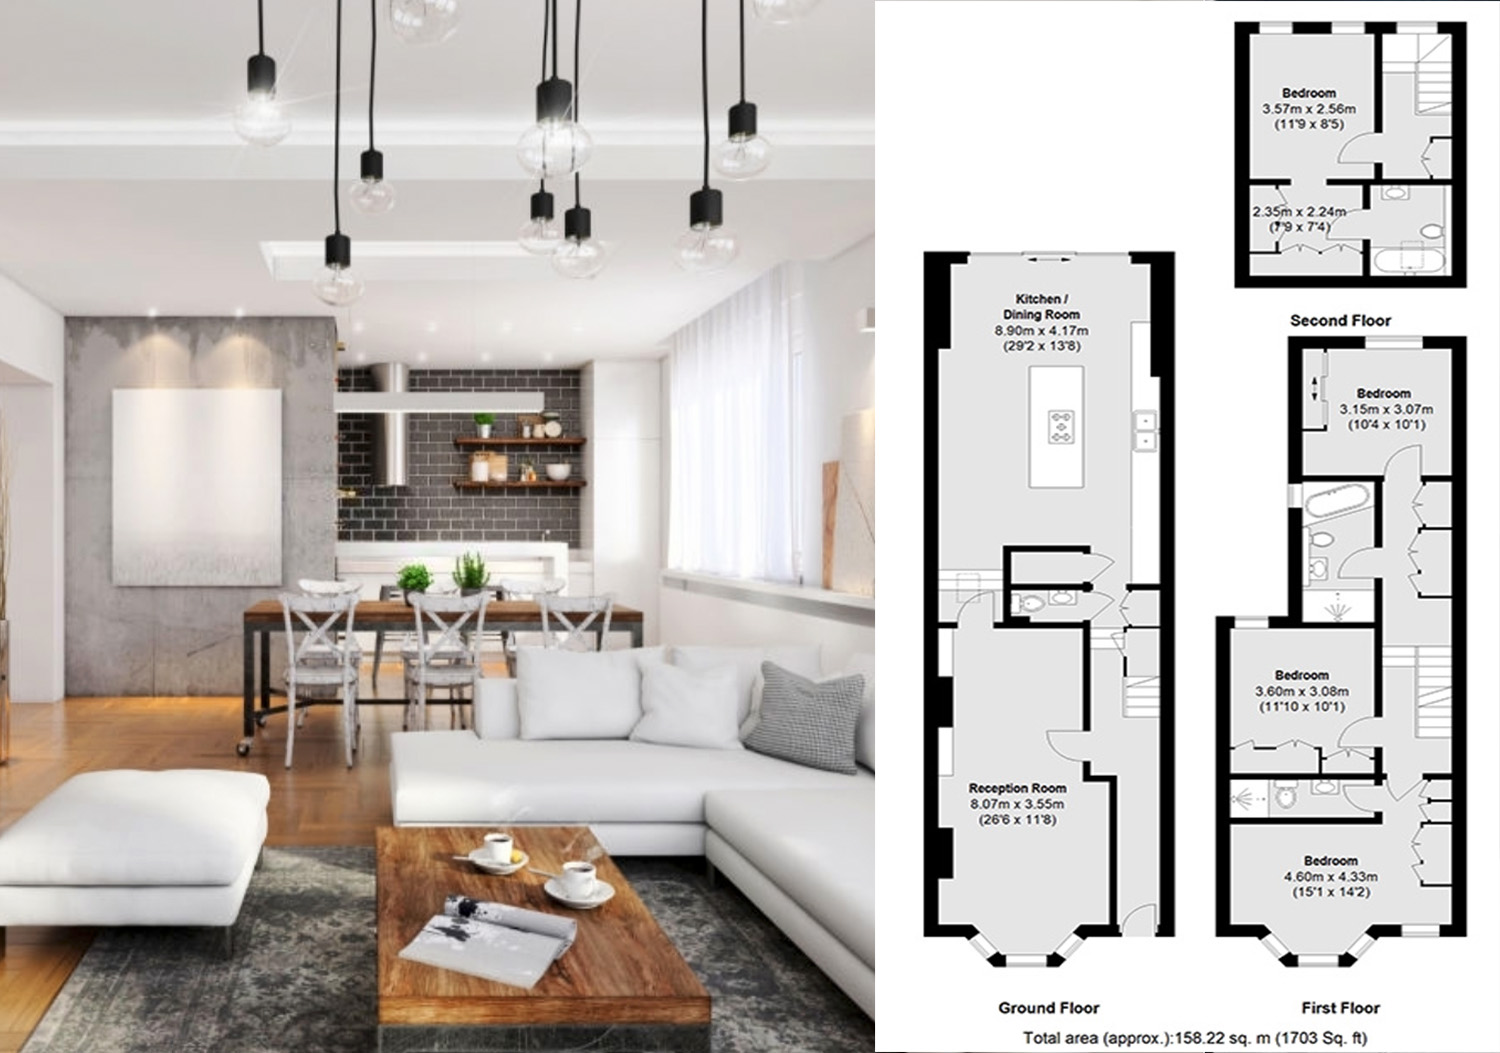
•Laser measurer, graph pad or tablet (e.g., iPad Pro) for precise floorplans and measurements.
Editing and Final Touches:
•A computer or laptop with ample memory and a good graphics card for efficient editing.
•Choose software like Adobe Photoshop or Lightroom for post-processing.
•Calibrate your screen with tools like the Spyder X Pro to ensure accurate colour representation.
By following this quick guide, you’ll not only capture stunning property photos but also provide a valuable service to your clients, leaving a lasting positive impact in the competitive world of real est